How to Take a Visa Photo at Home (Room Setup Guide)
How to Take a Visa Photo at Home (Room Setup Guide) — सरकारी दूतावास नियमों के अनुसार फोटो बनाएं, रिजेक्शन चेक करें और 300 DPI में डाउनलोड करें।
Practical home setup guide for visa photography. Learn how to choose the right plain wall, position yourself relative to natural light sources, eliminate wall shadows, and achieve studio-grade biometric clarity without spending money on commercial photo booths. [हिन्दी दिशा-निर्देश]: How to Take a Visa Photo at Home (Room Setup Guide) के लिए आधिकारिक मानकों के अनुरूप फोटो फ्रेमिंग करें, चेहरे के अनुपात की पुष्टि करें और उच्च रेजोल्यूशन में सीधे डाउनलोड करें।
How to Take a Visa Photo at Home (Room & Setup Guide)
Set up your living room or bedroom as a professional biometric photo studio.
Step 1: Choose the Right Wall
Stand 2 to 3 feet in front of the wall so your body does not cast a dark shadow on the surface.
Stand 2–3 feet forward from the wall to let light wrap behind your shoulders.
Do not lean directly against the wall, which creates dark outlines.
Ready to Create or Check Your Photo?
Apply these guidelines immediately using our automated client-side processing tool.
Top 5 Consular Photo Rules • दूतावास रिजेक्शन से बचने के 5 नियम
फोटो खिंचवाते समय चश्मा उतार दें; लेंस की चमक से बायोमेट्रिक स्कैनर फेल होता है।
मुंह पूरी तरह बंद रखें, दोनों होंठ मिले होने चाहिए और चेहरा न्यूट्रल (शांत) रखें।
दीवार से 1.5 मीटर आगे खड़े हों ताकि सिर या कानों के पीछे परछाई न पड़े।
किसी दूसरे व्यक्ति से आंखों की सीध में 1.5 से 2 मीटर दूरी से फोटो खिंचवाएं।
ठुड्डी से सिर तक का हिस्सा सरकारी पैमाने के अनुसार होना अनिवार्य है।
हमारा टूल फोटो को सही पिक्सेल और 300 DPI पर एक्सपोर्ट करता है।
Choosing the Right Wall and Subject Distance
जरूरी दिशा-निर्देश व जानकारी
Find a plain white, off-white, or pale grey wall free of picture frames, textures, wallpaper patterns, or baseboard clutter. Stand 2 to 3 feet in front of the wall. Standing directly against the wall causes your shoulders and head to cast dark shadows onto the paint, which triggers automated rejection.
Harnessing Window Daylight
जरूरी दिशा-निर्देश व जानकारी
Position yourself facing a large window during the middle of the day. Diffused daylight on an overcast day provides soft, even illumination across both sides of the face without specular hotspots on the forehead or nose.
Optimal Natural Lighting Setup in a Home Room
बैकग्राउंड और रोशनी के नियम
Stand approximately 0.5 meters (2 feet) in front of a plain white or light-colored wall, directly facing a large window with diffused daylight. This distance ensures that any soft shadow cast by your head falls harmlessly below the photographic crop frame rather than directly behind your head.
Visual Biometric Composition & Schematics
बायोमेट्रिक फ्रेमिंग गाइड व तकनीकी निरीक्षण
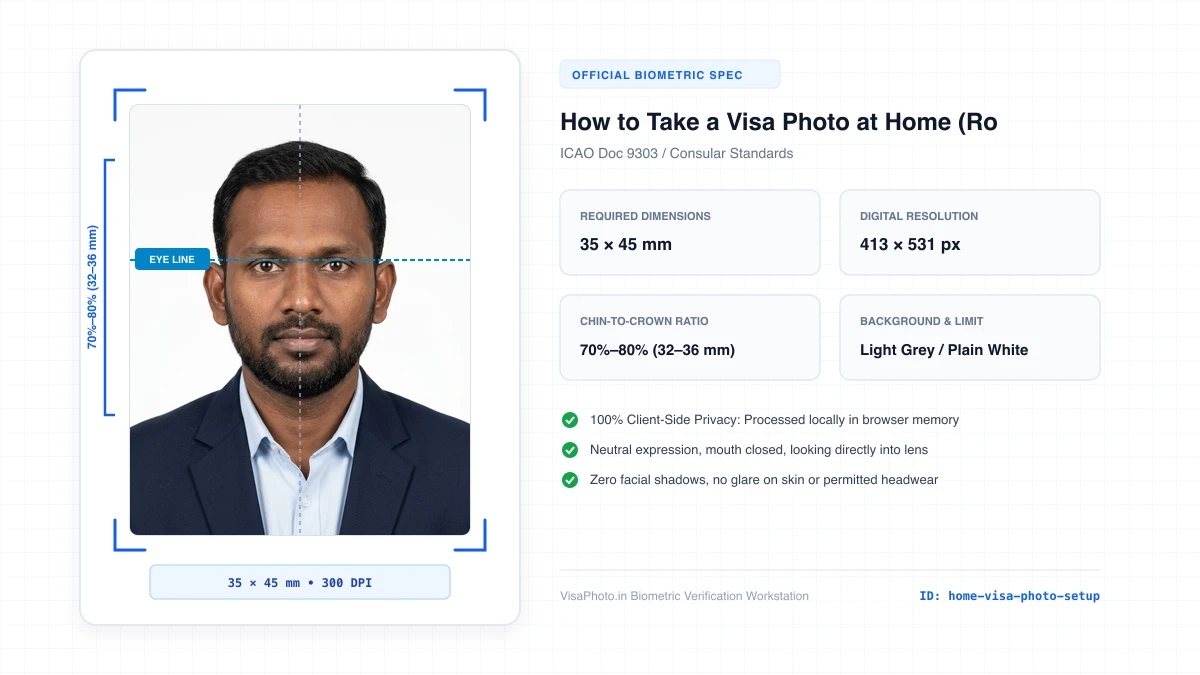
At-Home Visa Photo Room Setup Diagram
Diagram showing room layout, window lighting, and wall distance
Official Government Authority Sources
All requirement specifications are sourced directly from official gazettes and immigration portals.
What How to Take a Visa Photo at Home (Room Setup Guide) Can and Cannot Verify
हमारी तकनीकी गारंटी और निष्पक्ष पारदर्शिता
VisaPhoto.in maintains complete transparency. We ensure your photograph matches published mathematical and optical specifications, but we never make false claims of consular authority.
- ✓Exact Dimensions: सटीक साइज (mm, इंच) और 300 DPI रेजोल्यूशन।
- ✓Target File Limit: 240 KB या 300 KB के अंदर सुरक्षित कंप्रेशन।
- ✓Biometric Ratios: चेहरे (70%–80%) और आंखों की बिल्कुल सही सीध।
- ✓Background Uniformity: बैकग्राउंड का सही रंग (सफेद या हल्का ग्रे)।
- !Visa Approvals: वीजा अप्रूवल का अंतिम निर्णय दूतावास के हाथ में होता है।
- !Photo Recency: फोटो 6 महीने से ज्यादा पुरानी नहीं होनी चाहिए।
- !Physical Identity: फोटो में आवेदक की असली पहचान स्पष्ट होनी चाहिए।
Frequently Asked Questions
अक्सर पूछे जाने वाले सवाल व आधिकारिक जवाब
Related Biometric Tools & Compliance Guides
अन्य उपयोगी वीजा टूल्स व देश गाइड